
Create one or multiple Events in LiveShare
Updated 2024-03-07
In your account, you can create one or more Events. They can use the same Plan or different Plans.
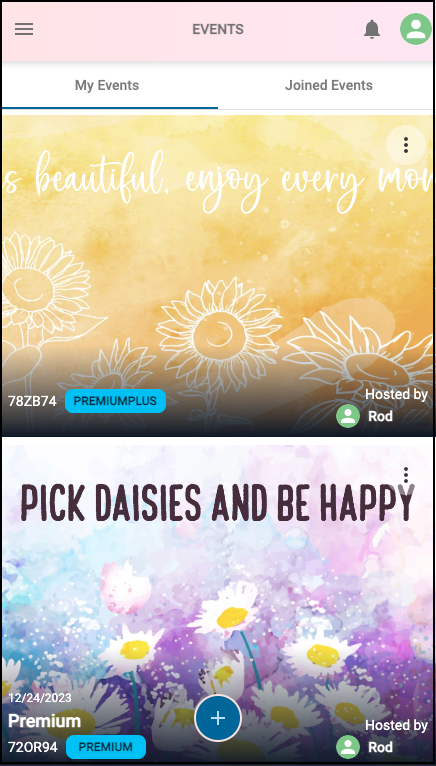
- On your Event Details page, click the left-arrow button to access the Events page.

- On the Events page click the ‘+’ button at the bottom of the page to add an Event.
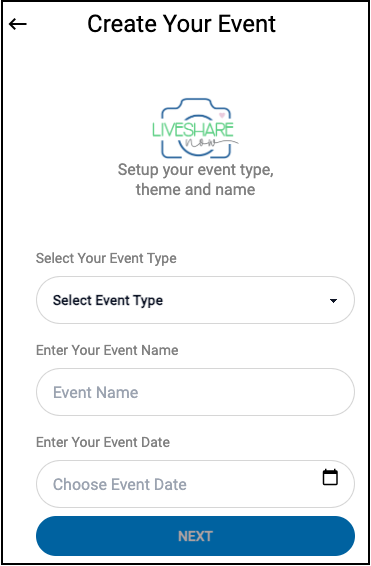
- The following ‘Create Your Event’ screen is displayed. Select your ‘Event Type’ and enter the Name and Date for your event, and click ‘Next’. Note, you can edit these later.
- Header Photo: You can then select a Header Image or upload your own photo.
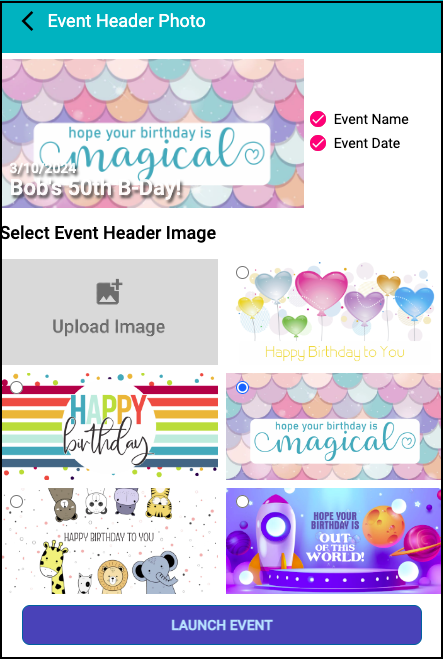
Click to select a default image, or click ‘Upload Image’ to select your own photo.
Then click ‘LAUNCH EVENT’ to create your Event.
To configure or edit an Event, simply click on the desired Event Header Photo, as shown above. On your Event Details page, click the left-arrow button to return to the Events page.